Cellpose通用细胞分割算法安装与使用
本文最后更新于:2024年6月13日 下午
工作需要,对之前使用的cellpose通用细胞分割算法安装及使用进行整理。
1. 安装 Anaconda
前往Anaconda官网,下载对应版本Anaconda安装包。

安装包下载完成后,进行安装,记得自己Anaconda的安装路径。
2. 拉取Cellpose Github源码
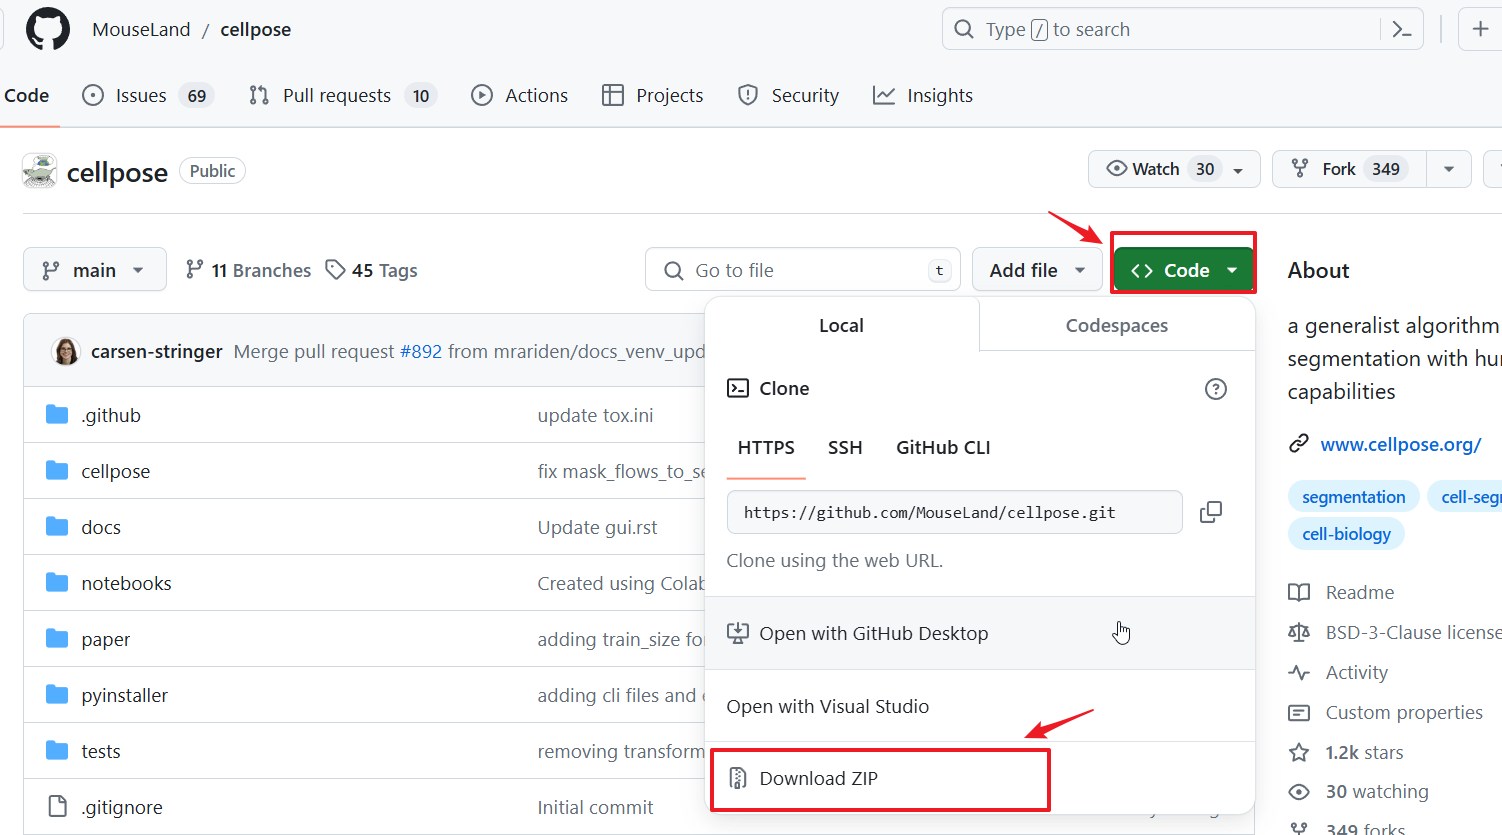
进入MouseLand/cellpose网站,下载源码至本地,并解压
3. 配置 Cellpose 所需环境
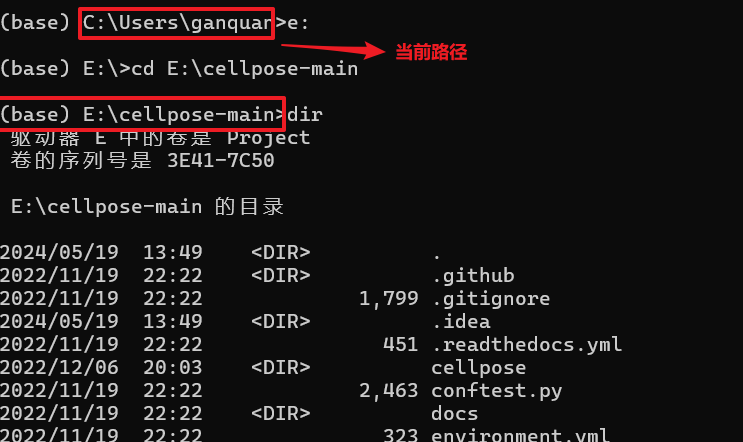
进入anaconda prompt,终端模式下,进入前面下载的github文件路径,我的路径为E:\cellpose-main
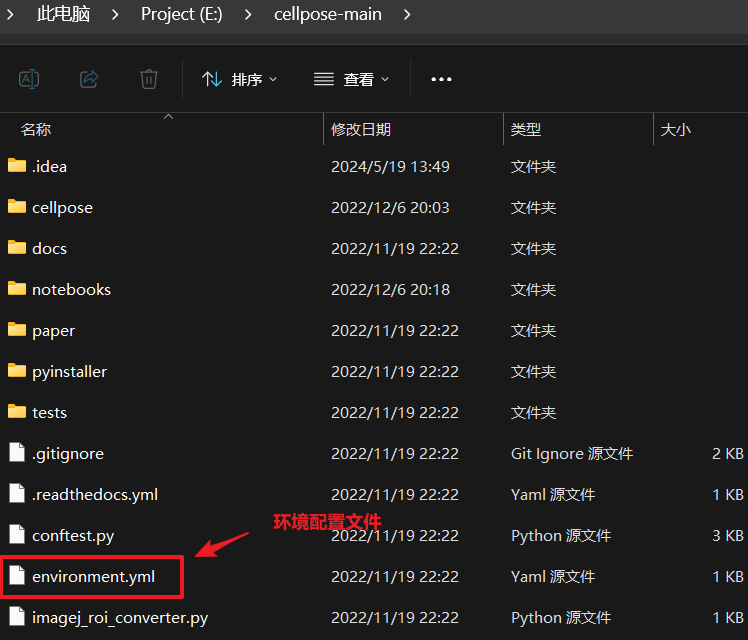
environment.yml为环境的配置文件,将依据该环境文件配置conda环境
终端中运行如下命令,将在本地电脑上部署环境
1 | |
等待下载完成,激活新环境
1 | |

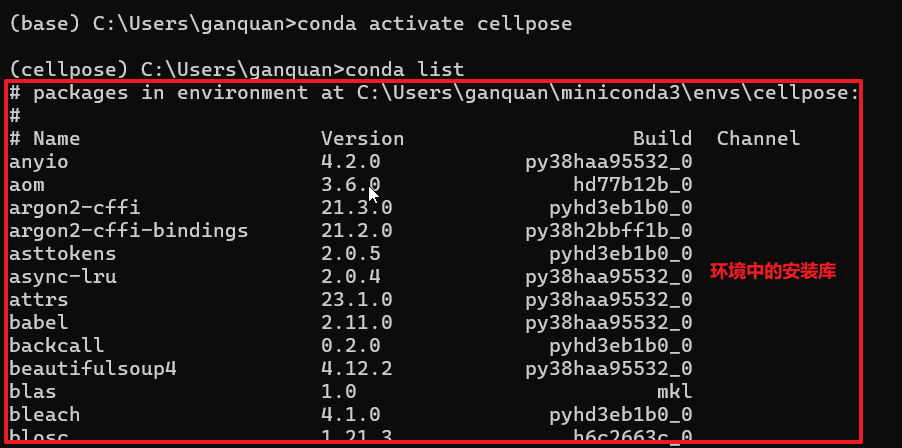
激活环境,并查看当前环境下的安装库
1 | |
4. 运行程序,分割图像
安装并运行 jupyter notebook
1 | |
jupyter notebook 界面如下

进入并运行Cellpose\notebooks\run_cellpose_gq.ipynb文件
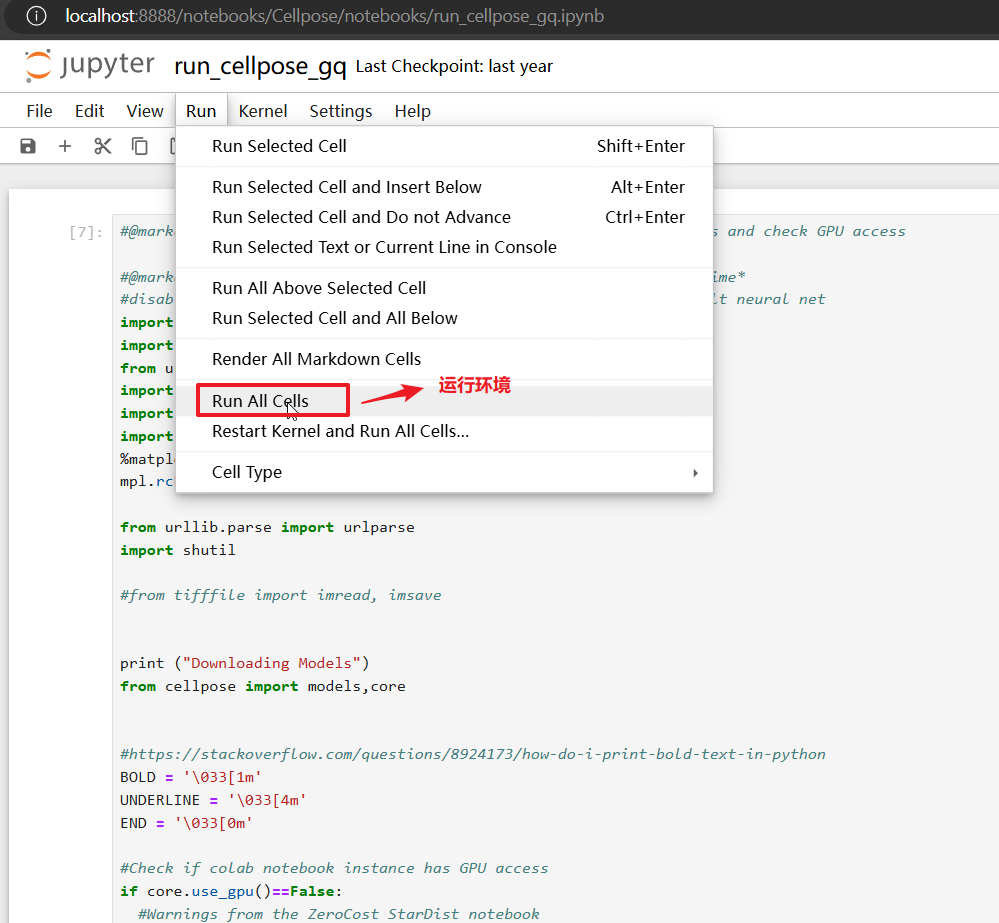
若报以下错误,按以下解决方法进行解决
错误1:
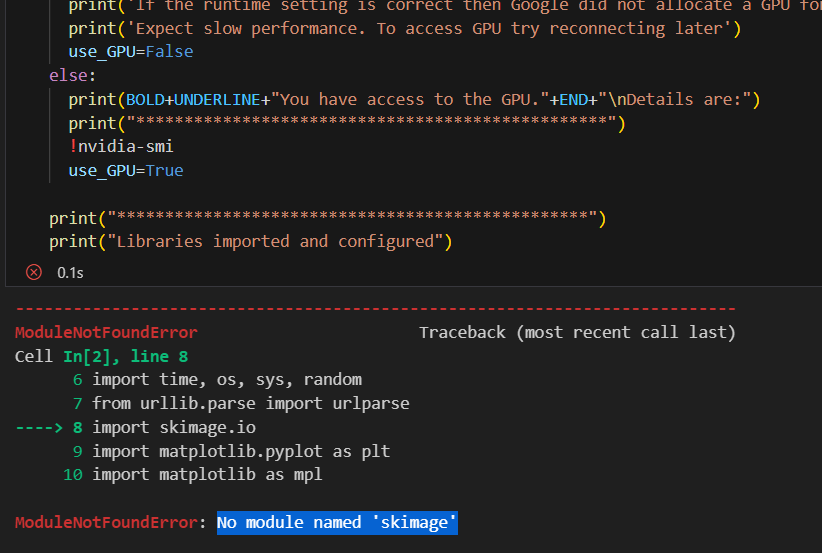
解决错误1:运行
conda install scikit-image命令
错误2:

解决错误2:运行
conda install matplotlib命令
待处理图片放在对应文件夹中
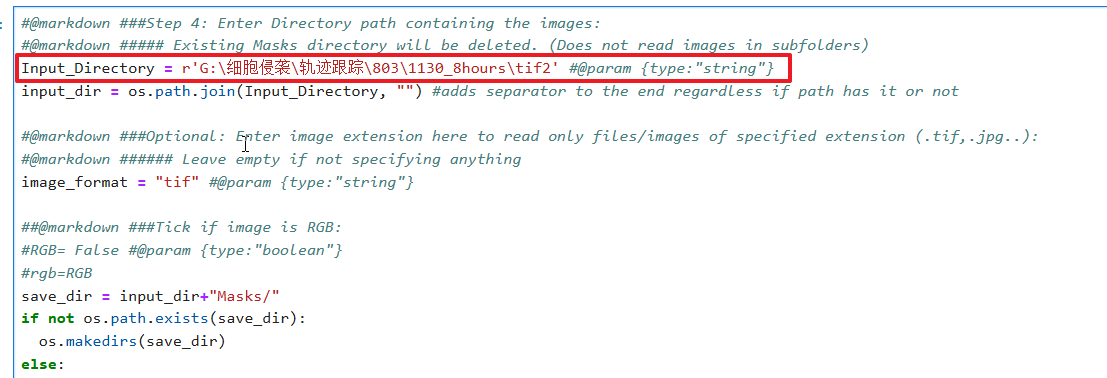
运行程序,开始分割图片
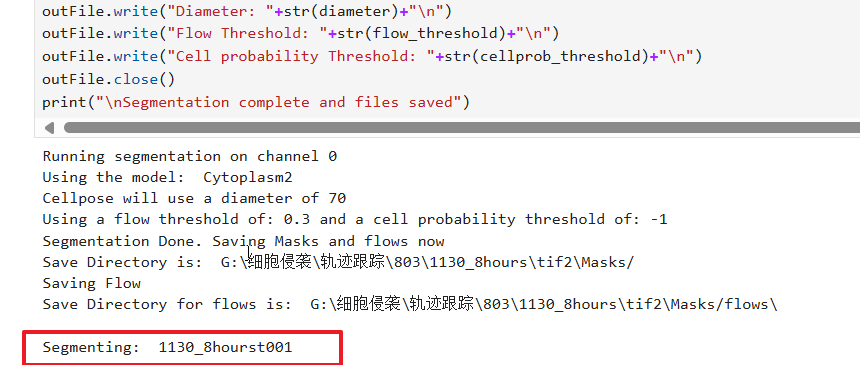
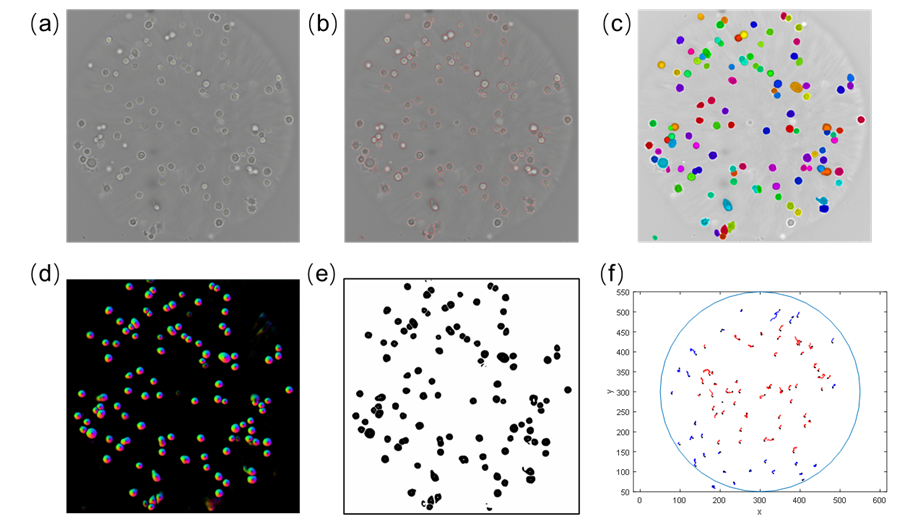
分割效果
Cellpose通用细胞分割算法安装与使用
https://northfourta.github.io/2024/05/19/cellpose%E9%80%9A%E7%94%A8%E7%BB%86%E8%83%9E%E5%88%86%E5%89%B2%E7%AE%97%E6%B3%95%E5%AE%89%E8%A3%85%E4%B8%8E%E4%BD%BF%E7%94%A8/